Thursday 29 September 2011

Tidying Up Day

I tidied up some wiring today.  I enclosed in flexi trunking the remote start cable for the generator, the output cable and the power cable for the bilge pump, and connected the immersion heater wiring and a few other little jobs.
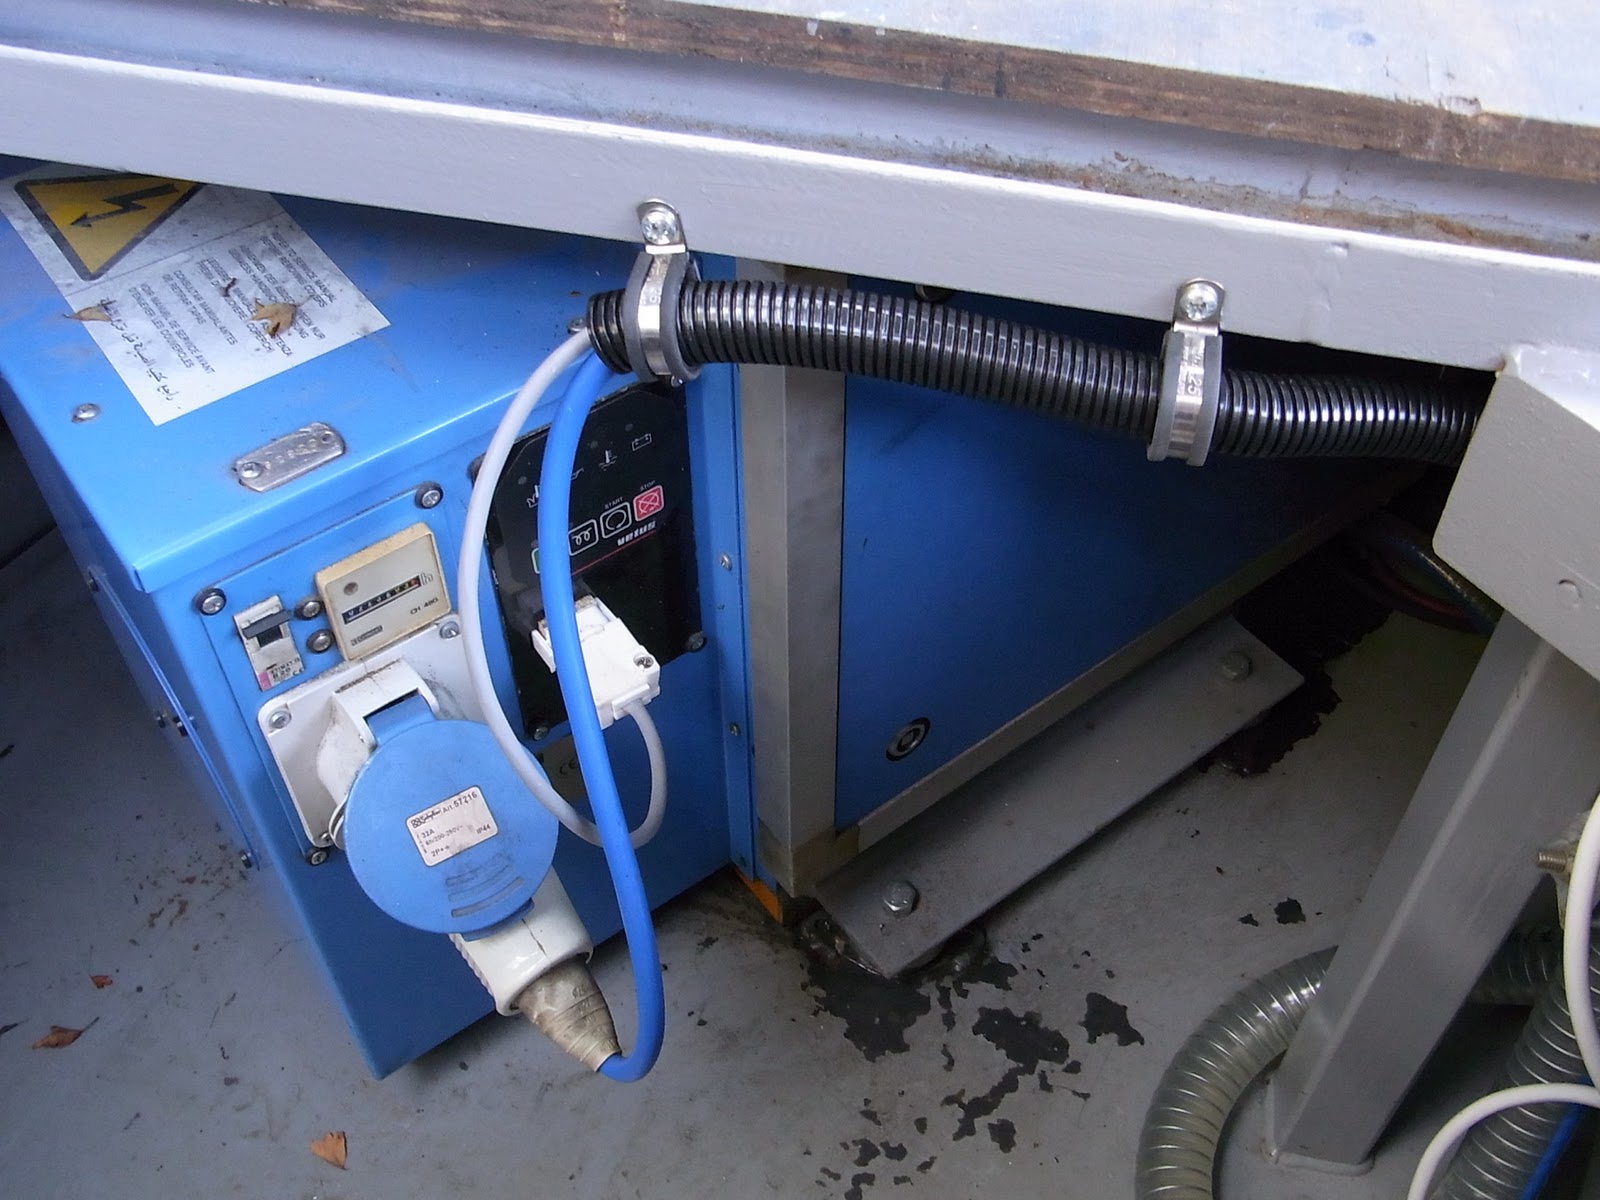
 The end of the run

Once done I fired up the generator with the shore power still plugged in and the auto switch over worked both in and out seamlessly.  I still have to install the bilge pump but the wire is there now.

I finally got the remainder of the plinth for the bathroom so installed that and while in there I siliconed the toilet in as well

I put the recessed fender mounts in on the port side and have been doing some work on the rudder.

 
I also filled and calibrated the water and waste tank gauges.  Well the waste water one was manufacture calibrated as it was matched to the depth of the tank, but I filled the tank to check it.  The water did need calibrating whic was simple following the manufacturers instructions.  

The waste tank is showing just over half now as I also got to test the self pump out system, which as you can see as the level is down works.


Another little job that's been hanging around is the fitting of the handles and locks for the gas and kit lockers on the stern of the boat.

Wednesday 28 September 2011

Water Intake Mainfold

I made the original water intake manifold intake out of copper but I was unable to get the jubilee clips to close down enough to form a reliable seal.  Even after wrapping with loads of PTFE tape the tube proved too wide and the reinforcement wire too strong.


The next option was to use 1 1/4" waste pipe but this was a tad to large for the ID of the tube. 


I tried heating it with boiling water but this was not enough as the reforcing spring inside the tube wouldn't give.  So I tried the cooking oil trick again.  This can be heated much hotter than water and did the trick softening the tube nicely.


Stretched and cooled over a spare bit of pipe

Job done.

 I must repaint the bilge again!

The green pipe is a hose to supply water to test the joints.  Water tight now :-)

Tuesday 27 September 2011

Clever Internet (Google Streets)

A few days ago it was mentioned that how would my boat look on the water.  Well as mine is a bit away from that yet, I thought I'd google the last location of the sister boat that I knew of.

Sure enough it was there.


The main difference with this boat is it's 70' not 60' like mine.  He also has skylights and a side hatch.  Otherwise its pretty much the same in the shell and the propulsion.

Monday 26 September 2011

Plumbing Has Come To Life

This morning I fitted the taps and made the final plumbing connections.

Kitchen

Bathroom

Shower

Once the cold side was checked and the calorifier filled I fired up the diesel heater and in half an hour I had seriously hot water.

I am not very happy with the water pump.  It's very noisy so I am going to mount it on some soft substrate.  If that don't work then I will be looking for another one.  The one in my motorhome is the same capacity but is "for motorhomes" as opposed to "for boats".

With all the water working I was able to fill and test the macerator toilet.  When I say test I do mean a  clean test.  I'll have to trust that it will deal with matters once afloat.

And finally as the water tank filled the water tank gauge came to life with some readings.  Once the tank is full I can calibrate it.  That is if I can find the instructions!

Friday 23 September 2011

Paint Day

Today the paint job is finally finished.  Well, there is still the roof to do with sand to make a grippy surface and some other sandy grippy bits, but the pray work is done.  I just hope the problem with the paint doesn't re-appear.

So here it is in pictures.

Masking yesterday magnolia

Slap some on here

Like this

And some here

And here

A few hours later all unmasked and shiny

A good couple of days work making a huge difference.  More photos when I can get on the bow deck without damaging it.

The paint has been piled on nice and thick.  Jerry said he had never put so much paint on anything.  The magnolia has nearly 3 litres and the blue including the rear already done has used 8 litres.  All that needs to be done now is a good mopping.  This will be done in due course.

I have deliberately used standard colours as they will be easy to source in the future from vertualy anywhere in any form and in any base material.

The magnolia is from the BS 4800 standard  BS 08 B 15 


The steel blue is form the RAL standard RAL 5011


Thursday 22 September 2011

Another Groundhog Day

I have had a a bit of a problem with the magnolia paint on the side of the boat and to a lesser extent on the blue parts.

The magnolia was worst affected. After a few months I notice the surface had dulled.  On closer inspection it could be seen that a multitude of tiny lumps that looked like micro blistering but wasn't as this is caused by moisture and under a magnifying glass there was no hole in the lumps.

This is magnolia but poor light

So I DA'd the side with some 400 grit and the tops came off the lumps without damaging the rest of the surface.  I then polished it up with Tcut and left it a while to see if it would re-appear.  After a few weeks decided it was time to get it resprayed. 

So after watching the weather for a while I decided today and tomorrow were probably going to be the last opportunity this year what with light and damp and wind and temperature.  

Jerry turned up bright and early and on we cracked with prepping the magnolia sides.  He did the big stuff I did the small hand areas and the masking.


The blue will be finished tomorrow.  All this week I have been applying 2pac primer with a small foam roller to avoid mess.  I am very surprised how good it's gone on and it's nice and thick so will be good for rubbing down.  Fingers crossed for and accurate weather forecast.

Tuesday 13 September 2011

Photos & Videos Update

I owe the blog a few photos and gonna chuck in a couple of videos as well.

The new HD battery cables showing 400amp fuse and 500amp shunt


The shunt is there to monitor the battery current both in and out and the information is displayed on the gage 4 down.  Think of it as a fuel tank gage for the domestic batteries.

I finished of the exhaust installation today.  
Exhaust manifold to water separator

Water separator to outside 

Engine start and run

Generator start and run

The reason for the lumpy start is due to me not turning on the cooling water feed quickly enough.

Monday 12 September 2011

Worktops Delivered

My, brother the stone mason deliverd the granite worktops for the kitchen today.


They are just on dry ATM final fix soon.

Sunday 11 September 2011

All Fired Up

Just a quick post today cos I wanna share.

With the help of my dad on the ignition key I pressurised the fuel tank and got the engine to fire up.  Even without the exhaust connected it sounded sweet.

Earlier in the day I connected up the cooling water intake and with the aid of a hose pipe from the mains I started up the generator and was able to run it at duty speed.  Previously I had only been able to run it in a protected mode because there was no cooling water, and then only for a few seconds  Seems that if there is not enough water flow it will run in protected mode only.

So all diesel powered systems are working.  Central heating boiler, generator and main engine.

Photos to follow.

I have now connected the new power take off cables from the battery pack. 95mm/square cables which needed end terminals put on.

Wednesday 7 September 2011

New Batteries

The new batteries arrived today.  What with holiday season and the need to have these made to order has meant a 6 week wait.


The new set have some additional features.  The principle requirement was to have a system that would evacuate the hydrogen that builds up when the batteries are charging. I certainly don't want another episode like before.

The system sold to me also has the added benefit of auto topping up.

So this how the new setup looks.


The vertical tube on the left is the venting tube. This connected nicely to the existing vent.


The vertical tube on the right links by a snap connector with a one way valve to a pressurised bottle.


This is filled with de-ionised water and is pressurised by the built in hand pump.  There is a small paddle wheel that goes round to show when water is going in.  When this stops the system is topped up.  The cells can't be overfilled as each cap has a float valve.

No lid will be require as the terminals are all insulated.  I still have the put the proper output cables on but these need to have terminals crimped on and will be done tomorrow.

The good news is the charging side of the inverter didn't suffer any damage and is working fine.

Tuesday 6 September 2011

Doors & Wires

I have now varnished and hung the internal doors.  In truth I did the hanging but had a proper carpenter come in and fit the furniture and locks and shoot the doors in.  And by hang I mean fitting the frames with the doors pre-hung. Remember I don't do wood. I also got the glass today which needed to be toughened in line with UK building safety code.  As it happens I think this is a good code so I have adopted it in the boat doors.|

So this is what the doors look like now.

Bedroom door from outside

The bathroom door is the same but difficult to photograph.  The glass is frosted in manufacture 100% privacy 95% light transmission.

And here are what I consider to be the absolutely fantastic door handles. Not only, IMO, are they beautifully designed they are beautifully engineered as well.


The final connections for the bow thruster have been made.  These are the charging lines which have to be fused both ends to prevent accidental overload of the charge lines if there isn't enough power in the bow thruster dedicated batteries.

150amp fuse engine end

150amp fuse BT end

I was fortunate that the local chandlers lent me their crimping tool so I could cut and alter the existing cables and put the terminals on properly as the cable had already been installed before I knew I had to fuse it in this way.  While I had the crimping too I also extended the start cables for the generator.  That done I connected the remote cable and from inside the boat I started the generator.  Woo Hoo, something else working :-)